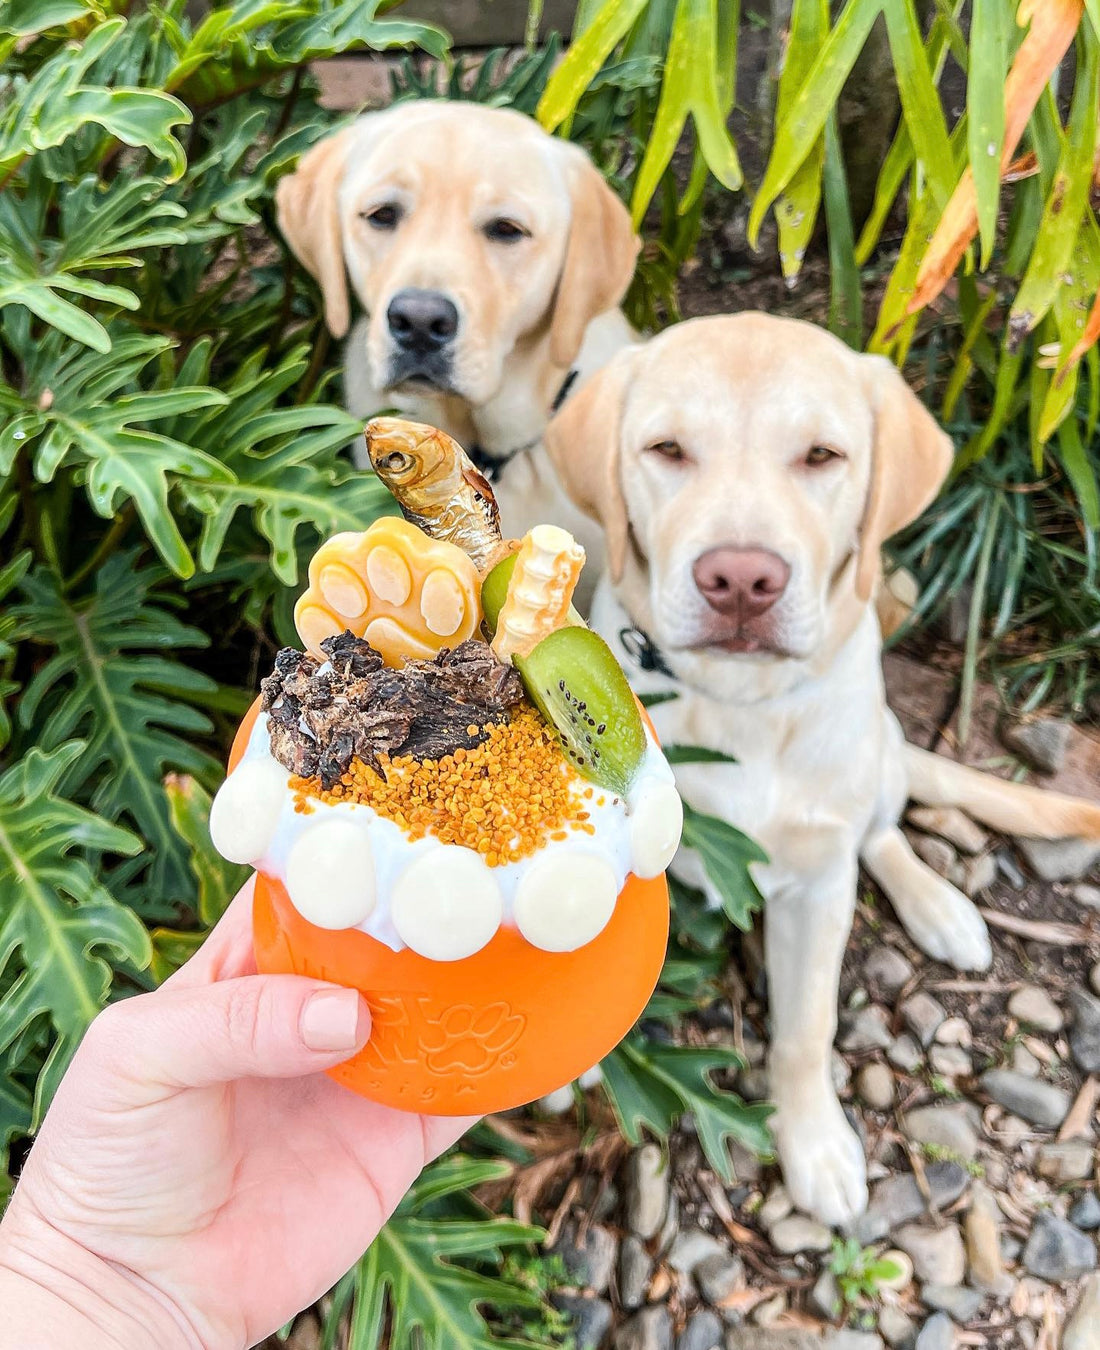
‘Surf & Turf’ Toppl Recipe
Share
Get ready to have some fun in the kitchen because in this recipe, we're going to teach you how to make a tasty and exciting Toppl that will not only satisfy your pup's taste buds, but also keep their brain's busy in the process!
Prep Time: 10-15 mins
Step 1: Gather your ingredients
To begin making your Toppl, you'll need some basic ingredients:
- Minced meat
- Pork chunks
- Kibble
- Shark cartilage
- Pilchards
- Kanga cubes
- Coconut yoghurt
- Yoghurt Buttons
- Bee pollen
- Kiwi fruit (quarted with skin on)
- Frozen paw (flavour of choice) topper

Start with a base of meat and kibble, and then add pork chunks. You can use any type of meat that your dog enjoy's, such as chicken, beef or kangaroo. You'll also need dehydrated shark cartilage, pilchards, kanga cubes, coconut yoghurt, and some yoghurt buttons. To top it off we will be using a sprinkle of bee pollen, kiwi fruit and a frozen paw topper.
Step 2: Build your base

To build the base of your Toppl, start with a layer of meat.

Then add a layer of kibble, followed by a layer of pork chunks.


Press down lightly to compress the layers.
Step 3: Add Yoghurt
Add a few spoonfuls of coconut yoghurt to the top of your Toppl. Spread evenly across the surface of the meat and kibble.

Step 4: Add the shark cartilage and pilchard
Push a shark cartilage and dehydrated pilchard into the centre of the Toppl. These will act as a 'handle' for your dog to grab onto while they work on getting the food out.

Step 5: Add the kanga cubes, bee pollen.
Arrange the kanga cubes and bee pollen on the surface.

Step 6: Dress with your favourite fruit, frozen topper & yogurt buttons.
Dress your Toppl with your favourite fruit and frozen topper. In this recipe, we are using chunks of kiwi fruit and a frozen paw made out of apple purée. Finally, stick the yoghurt buttons around the edge of the Toppl, this will create a barrier that your dog will have to work through to get the food in the centre.
For an added challenge, place the Toppl in the freezer for a few hours prior to giving it to your furry friend!

Recipe & images courtesy of @curiousalfie
